Building Your First Model
Building Your First Model
Welcome to R-THYM! In this guide, we will walk step-by-step through creating a functional water-energy microgrid from scratch.
By the end of this tutorial, you will have built a system where a solar array charges a battery, which in turn powers a pump that lifts water to a storage tank to satisfy a randomly fluctuating community demand.
Step 1: Placing the Hydraulic Components
First, let's lay out the physical water infrastructure. Using the Hydraulic Nodes palette on the left sidebar, drag and drop the following components onto your canvas:
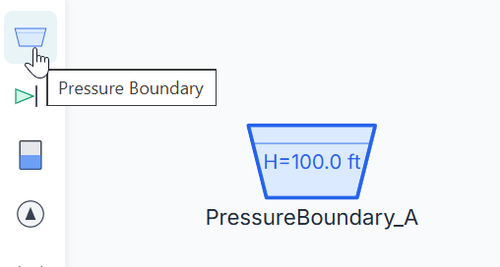
- Pressure Boundary: This will act as our infinite water source, such as a lake or clearwell.
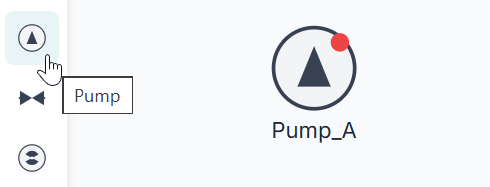
- Pump: Place this near the pressure boundary.
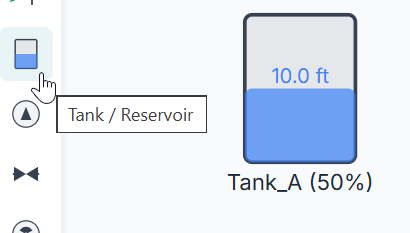
- Tank: Place this further away. This will store the water pumped from the source.
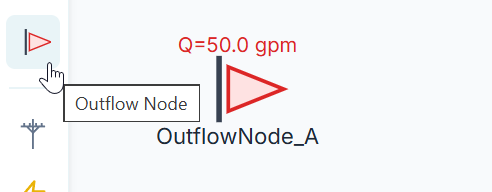
- Outflow Node: Place this near the tank to represent our community's water demand.
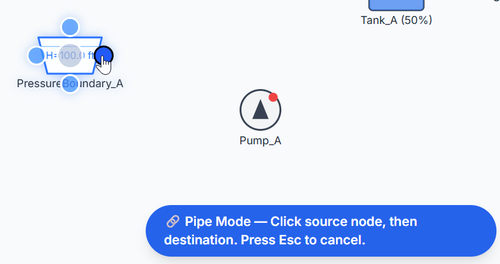
Once your nodes are placed, select the Pipe tool from the toolbar. Click once to initiate the first connection. Click on the source then the destination.
Step 1:
Step 2:

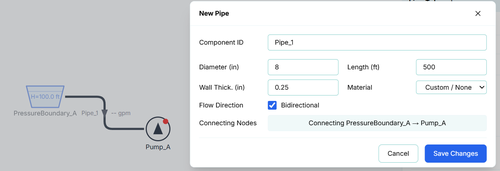
After you select the destination node to connect to, you will see the pipe and the property dialog for the pipe will open so you can immediately adjust the length and other pipe properties.
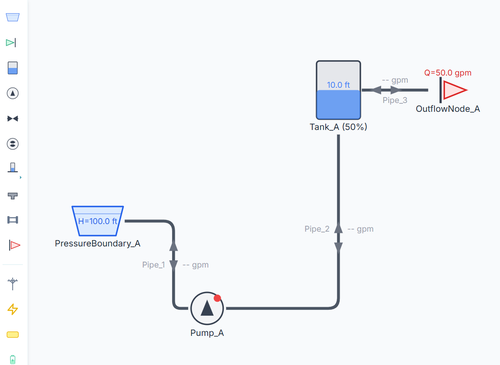
Continue this process of connecting nodes in the following order:
- Pressure Boundary → Pump
- Pump → Tank
- Tank → Outflow Node
Step 2: Configuring the Hydraulics
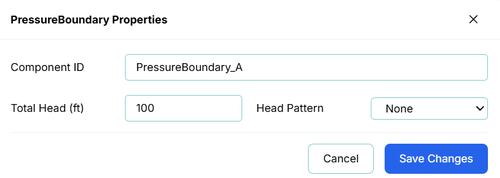
Now, let's give our system some physical dimensions and constraints. Double-click on each component to open its properties dialog.
-
Pressure Boundary: Set the Total Head to 100 ft.
-
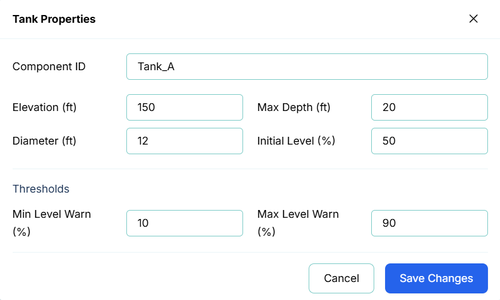
Tank: Set the Elevation to 150 ft (so our pump has to do some lifting). Set the Diameter to 12 ft Max Depth to 20 ft and the Initial Level to 50%.
-
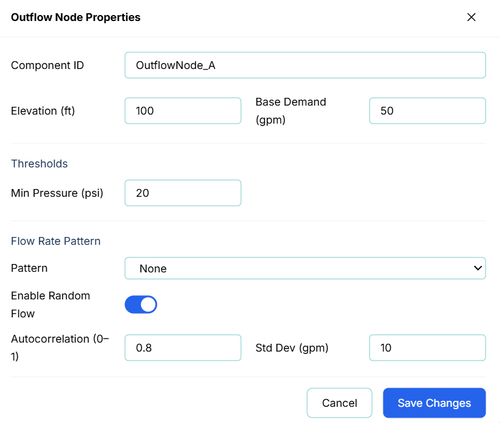
Outflow Node: Set the Elevation to 100 ft. Set the Base Demand to 50 gpm. To make the simulation more realistic, check the Enable Random Flow toggle. This applies a stochastic (random) variation to the flow, mimicking the unpredictable nature of real-world water usage.
-
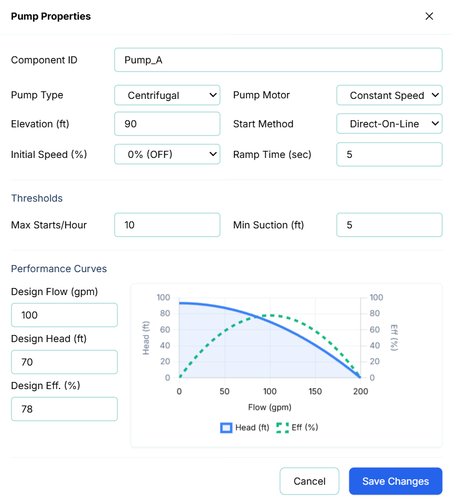
Pump: In the performance curves section, ensure the Design Flow is around 100 gpm and the Design Head is around 70 ft (enough to overcome the 50-70 ft elevation gain plus friction).
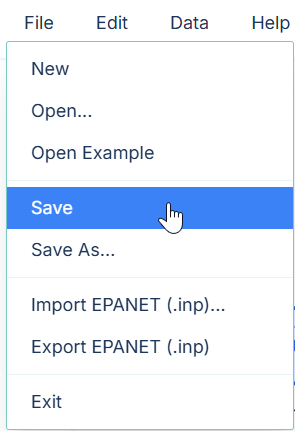
[!TIP] Save the project after you've made some changes to the model using the File -> Save menu command. I will call this project "RTHYM Tutorial 01"
Step 3: Simulating the Hydraulics
Before we add energy components, let's verify that water flows correctly! In R-THYM, pumps are automatically assumed to be tied to an infinite utility grid if no power source is connected.
- Click the Start button at the top of the screen to start the Extended Period Simulation (EPS).
-
While the simulation is running, click on the tank and view the live telemetry data in the sidebar on the right.
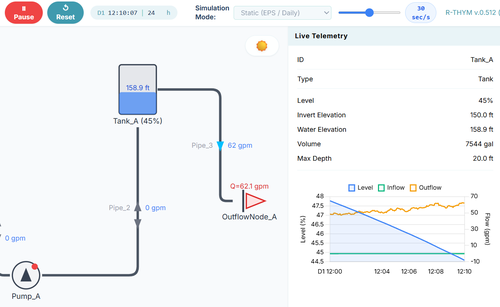
-
Watch as the tank level slowly drops due to the random 50 gpm demand.
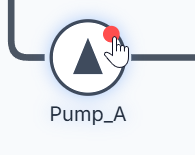
- Live Interaction: Click the Pump toggle on the canvas to turn it ON.
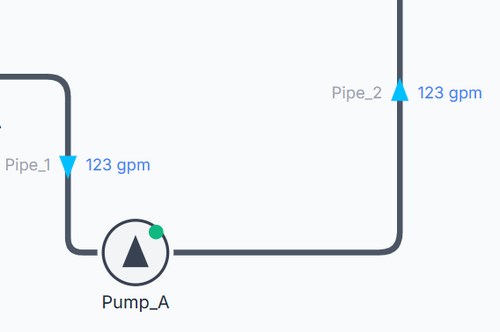
Look back at the Tank's telemetry chart. You should see the water level begin to rise as the pump pushes water up to the tank!
[!TIP] This live interaction is a powerful feature of R-THYM. You don't have to wait for a simulation to finish to see results. You can manually override pumps and valves in real-time to observe immediate system responses.
Step 4: Integrating the Energy Microgrid
With the water flowing, let's power the system using renewable energy!
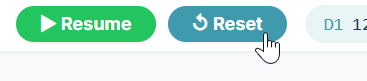
- Pause and Reset the model. Before we can edit the model, you must reset the simulation.
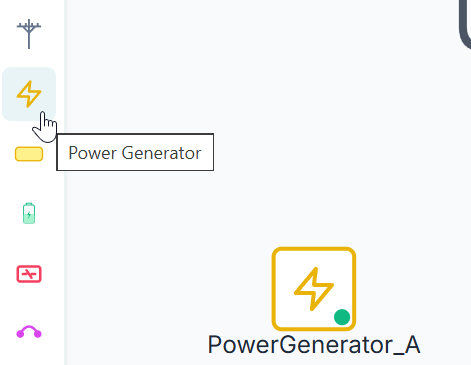
- Drag a Power Generator onto the canvas just below the pump.
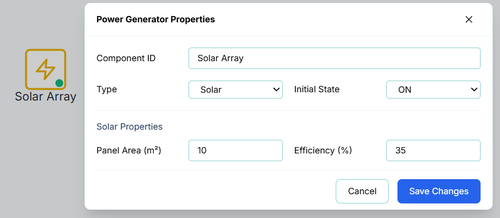
- Double-click it and change its type to Solar and efficiency to 35%.
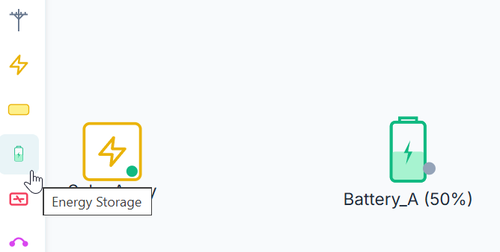
- Drag a Battery onto the canvas and place it between the solar array and the pump.
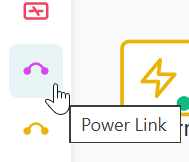
- Select the Power Link tool from the toolbar. Connect the power links the same way you do with the water pipes by clicking on the source and destination nodes.
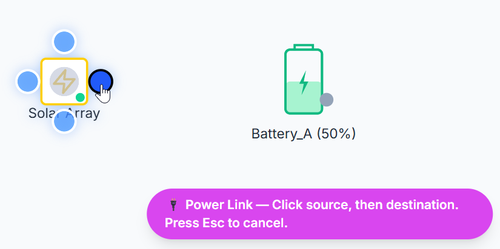
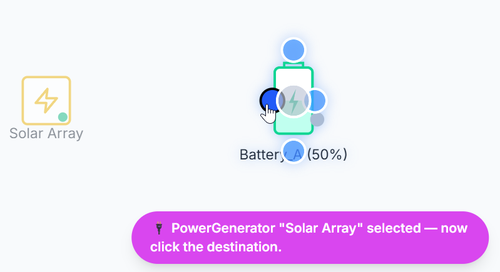
Connect the power flow: Solar Array → Battery Battery → Pump
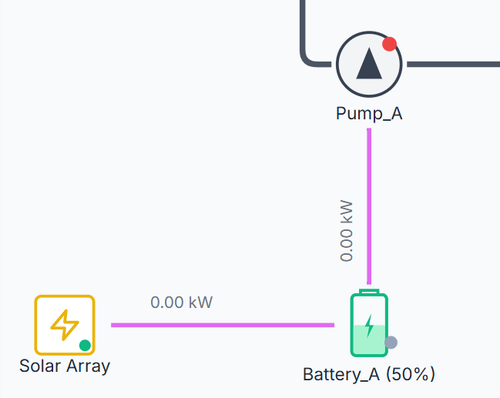
[Note] In R-THYM, a pump will only operate if it has a valid power source. By disconnecting it from the utility grid and relying on the battery, we've created an islanded microgrid!
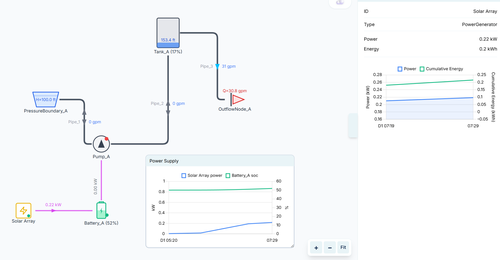
Step 5: Running a Water and Power Simulation
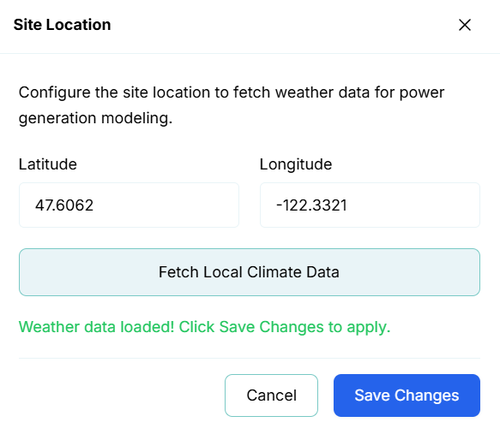
You are now ready to simulate both hydraulics and energy use! In this tutorial, we will simulate solar power generation. To do so, we will need accurate solar radiation information for the project location. To do this, we need to set the location from the Data menu. 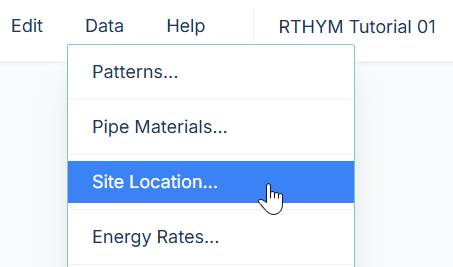
In my project, I will choose a start time of 05:20:00, which is just before sunrise. 
Click the Start button at the top of the screen to start the Extended Period Simulation (EPS). During the simulation, try turning the pump on and off to fill the tank and watch out that you don't discharge the battery too far.
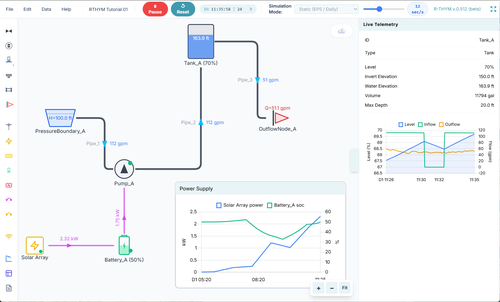
What to watch for:
- The Sun Rises: As the simulation time moves through the day, you will see the Solar Array start generating power, sending kilowatts into the Battery to charge it.
- The Battery Discharges: When the pump turns on, you will see a sudden draw on the battery's State of Charge (SOC).
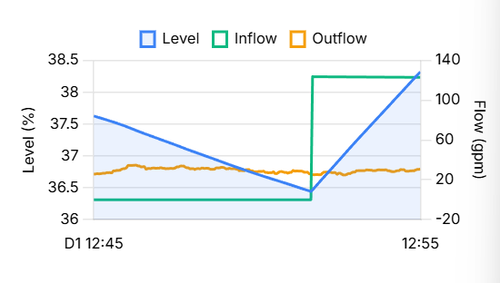
- Fluctuating Demand: Look at the Outflow Node's telemetry chart. Instead of a flat line, you will see the 50 gpm demand dynamically bouncing up and down.
- Tank Cycling: Watch the tank fill when the pump is running, and slowly drain as the random demand pulls water from it.
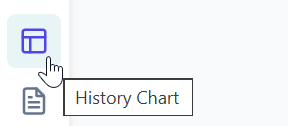
[!TIP] You can store history results of any output using the History chart.
Congratulations! You have just built and simulated a dynamic water-energy nexus model in R-THYM.